Come and enjoy our services, decoration pieces, and furniture.
Refinishing vintage wooden tables can bring them back to life, making them a graceful centerpiece for your home. With age-old designs and sturdy materials, these tables are treasures worth preserving. The right refinishing process can highlight their beauty and add a unique touch to your decor.
Before you get started, it’s important to evaluate the table for any damage and determine the type of wood. This helps in choosing the best methods and tools for the job. Once prepared, you can move on to cleaning, sanding, and applying a new finish that enhances the table’s natural appeal. With a few simple steps, you can transform a faded wooden table into a stunning piece ready to impress. Whether it’s a family heirloom or a flea market find, each table has the potential to become a cherished part of your home.
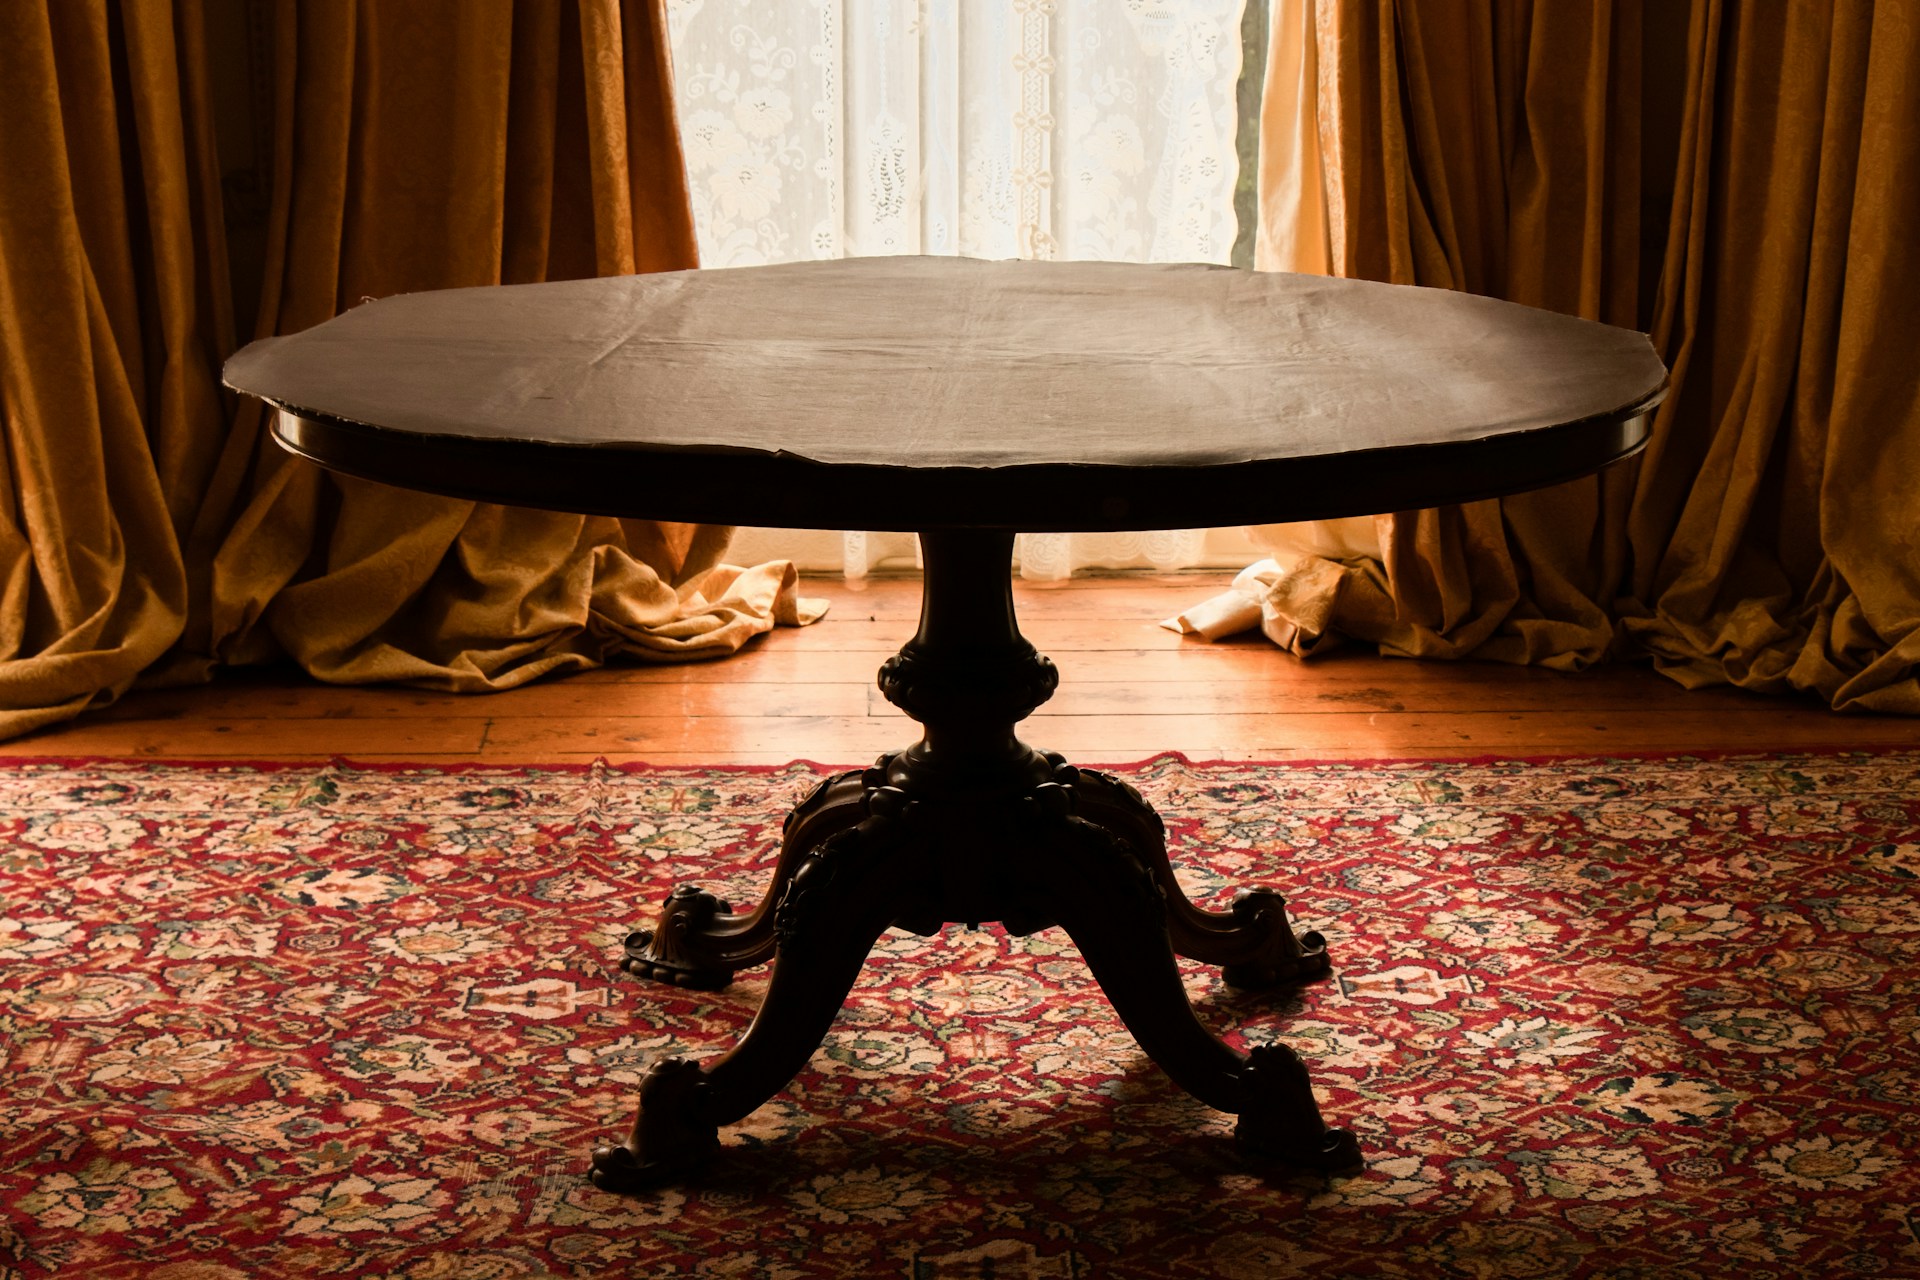
Before refinishing a vintage wooden table, it’s important to evaluate its condition to ensure a successful makeover. Start by checking for any structural issues. Look at the table’s legs and joints, giving them a slight wiggle to see if they are stable. If there’s any wobbling or loose parts, you may need to tighten screws, glue joints, or replace missing hardware.
Next, inspect the table surface for any scratches, dents, or chipped wood. While minor scratches can add character, deep grooves or gouges might need filling with wood filler. Check for any moisture damage signs, like warped wood or dark spots, as these could require special attention or professional repair.
Determining the type of wood is also crucial. Different woods have unique grains and properties that can influence the refinishing process. Check the grain pattern, color, and weight to identify the wood. Common types of wood for vintage tables include oak, mahogany, cherry, and walnut. Knowing the wood type helps in selecting the right stain and finish to accentuate the table’s original beauty while ensuring longevity.
Once you’ve evaluated the table, the next step is to clean and prep it for refinishing. Start by removing any old finish. Use a chemical stripper or sandpaper to strip away old paint or varnish. If you use a chemical stripper, apply it evenly and let it sit according to the instructions. Scrape off the finish gently with a putty knife, taking care not to gouge the wood.
After removing the old finish, thoroughly clean the table’s surface. Use a mixture of mild soap and water, or a wood-safe cleaner, to remove dirt and grime. Make sure to dry the wood completely before moving to the next step.
Sanding is a vital part of the prepping process, as it smooths the surface and allows the new finish to adhere better. Start with a medium-grit sandpaper to remove any remaining finish or rough patches. Then, switch to a fine-grit sandpaper for a smooth, even finish. Sand along the wood grain to prevent scratches. Wipe down the table with a damp cloth to remove dust and debris, ensuring a clean surface ready for staining and sealing.
Transforming your vintage table with stain and sealant can bring out its best features. The first step is choosing the right stain. Think about the color that will best match your decor and the natural beauty of the wood. Lighter stains can highlight the wood grain and give a more casual look, while darker stains can add elegance and warmth. Test the stain on a small hidden area to see how it looks before applying it to the entire table.
Once you’ve chosen the perfect stain, apply it evenly with a clean brush or cloth. Work along the grain for a smooth finish. Allow the stain to dry completely before moving to the next step. After the stain has set, it’s time to apply a sealant to protect the wood from wear and tear. Use a high-quality polyurethane or lacquer, applying it in thin, even coats. Sand lightly between coats for a smooth finish and allow each coat to dry thoroughly. This protective layer will ensure your table remains in excellent condition for years to come.
With the stain and sealant in place, now is the time to add personal touches that make your table truly yours. Consider incorporating decorative elements like stenciling or adding stylish new hardware. Stenciling can bring a whimsical or artistic flair to your table, while unique handles or knobs can offer a delightful contrast. Choose accents that reflect your personal style and complement the table’s overall aesthetic.
Proper maintenance is key to keeping your table looking its best. Regular cleaning with a soft cloth and gentle wood cleaner will help maintain its shine. Avoid placing hot items directly on the surface, which can damage the finish. Using coasters and mats will prevent scratches and watermarks. Every few months, inspect the table for any small repairs that might be needed, such as retightening screws or touching up areas where the finish has worn down.
Refinishing vintage wooden tables is a fulfilling endeavor that brings life to cherished pieces. You’ve learned to evaluate, clean, stain, and add personal touches, transforming each table into a beautiful reflection of your style. These tables, whether inherited or discovered, provide more than function. They offer a connection to the past that adds depth and character to modern spaces.
Ready to give your vintage table a new lease on life? At RedoHobby, we’re passionate about helping you turn furniture into personal masterpieces. Whether you need guidance on materials or tips on techniques, our expertise can make the wood refinishing process enjoyable and rewarding. Get started on your creative journey, and let your refinished table become a conversation starter in your home!
I’m always looking to decorate on a budget I’m in love with shopping at any discount or thrift store. Making old things new again is like giving new life to an item that has seen better days. I really enjoy upcycling and restoring furniture and home décor.