Come and enjoy our Services, Decoration Pieces, And Furniture Etc.
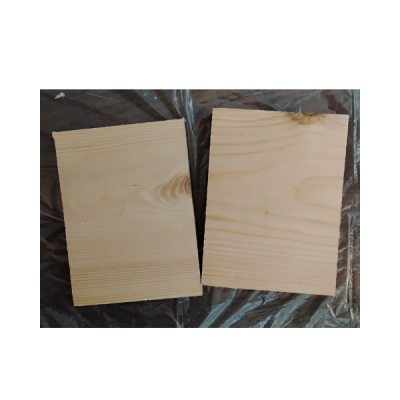
I had these two scrape woods
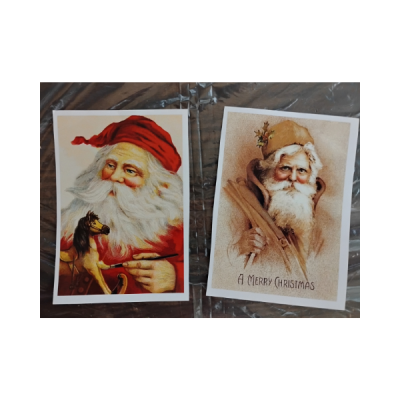
These are the two-decoupage papers I used for both projects.
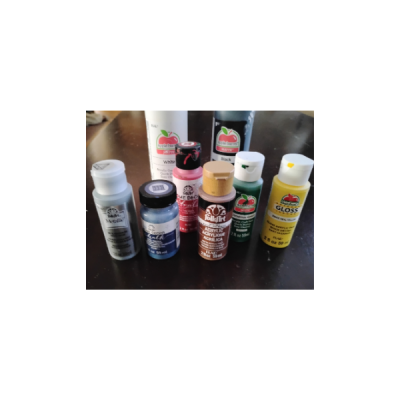
These are the paintings that were used for both projects.

I painted one of the woods with Rust-Oleum Chiffon Cream.
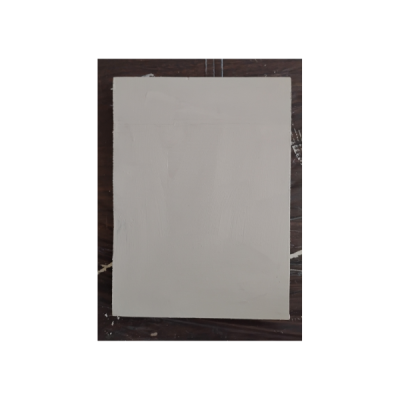
I added two coats to the wood.
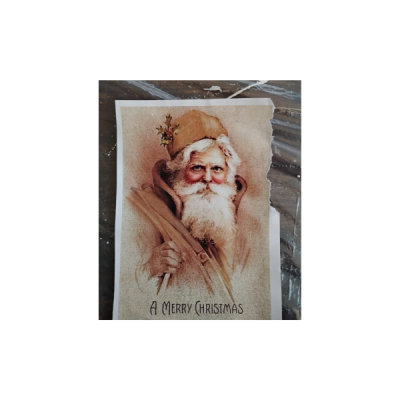
From my decoupage papers I choose this vintage Santa Claus. I wet the edges and teared the edges.

I then mod podge the paper to the wood.
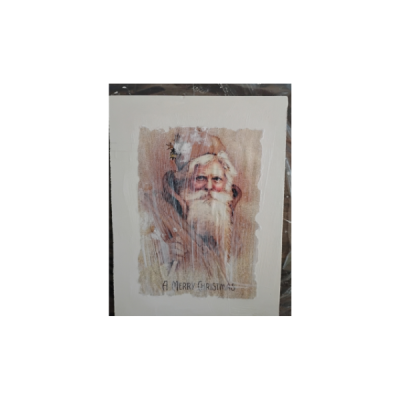
I let the mod podge completely dry.
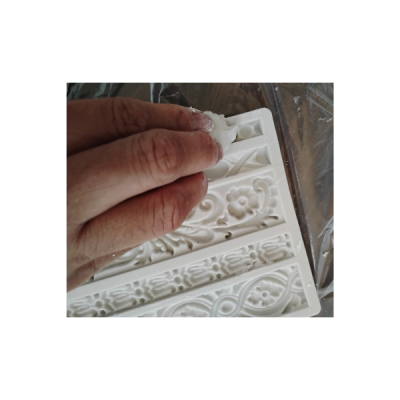
I wanted a border around the wood so, I pulled out my mold.
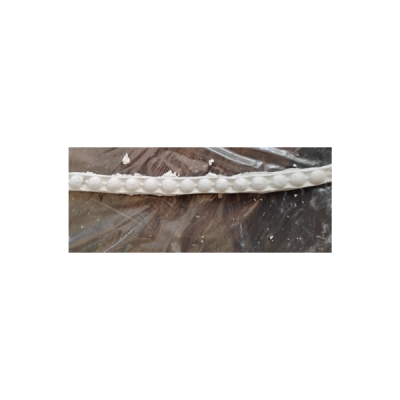
I have four of these to add to the wood.
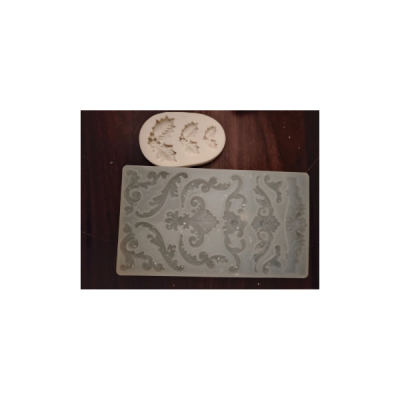
I also wanted to add some garland to my project.
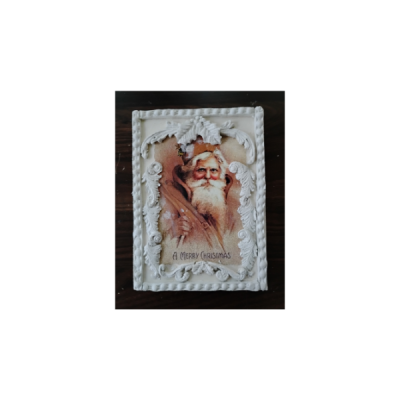
Once I had all my molds, I first placed them to make sure I liked how it looked. Then I used wood glue to glue down the mold. I then added a sealer to the entire project because I wanted to paint it but also want to easily wipe back some of the paint.
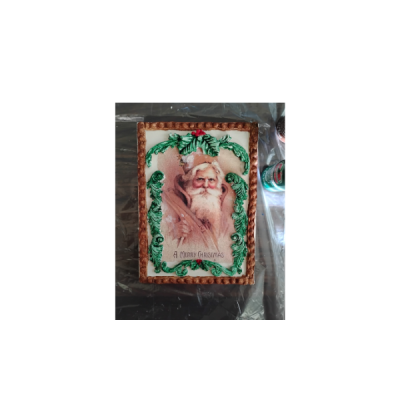
I painted the garland green, the border nutmeg and the berries red.
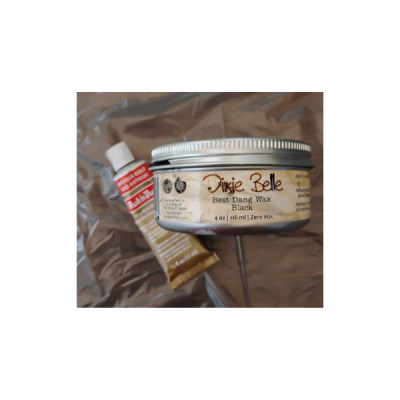
Next, I added Dixie Belle Best Dang Wax and wiped back with baby wipe. Then I added Rub ‘n Buff lightly to the entire project.
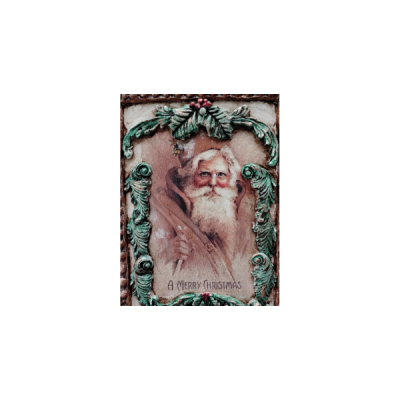
This is the finished project.
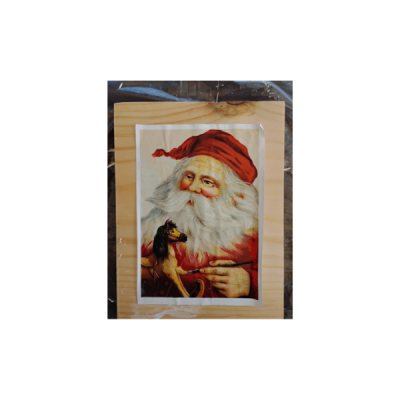
The other wood project I mod podge the second Santa to the wood.
.
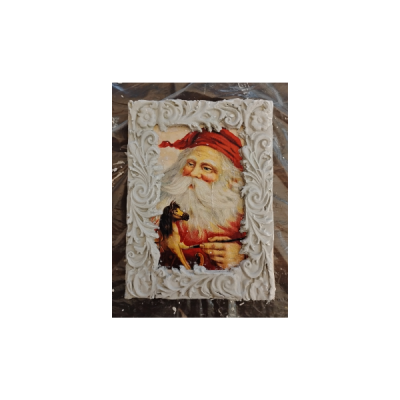
I also added a clay mold to border this project as well.
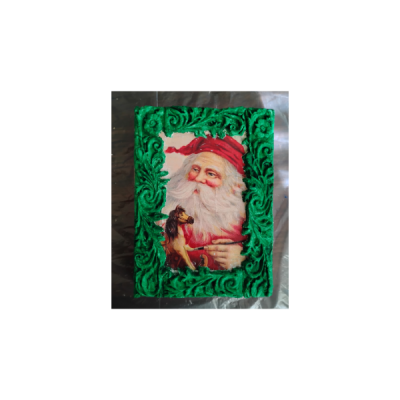
I painted the border green and added the dark wax and wiped some of the wax off.
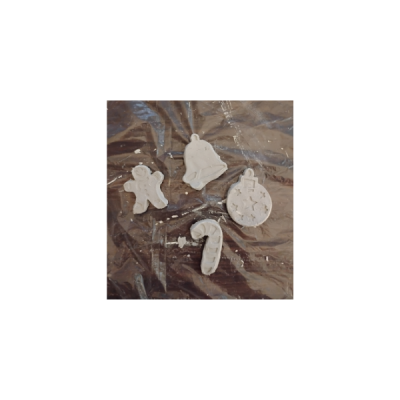
I made a bell, gingerbread, ornament, and candy cane mold.
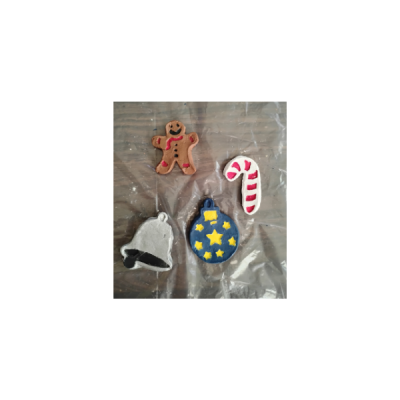
I painted each of the molds.
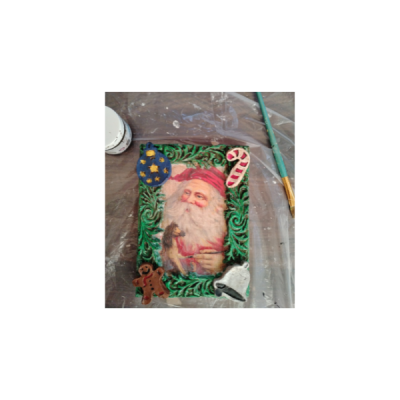
Then hot glued mold to each corner of the project.
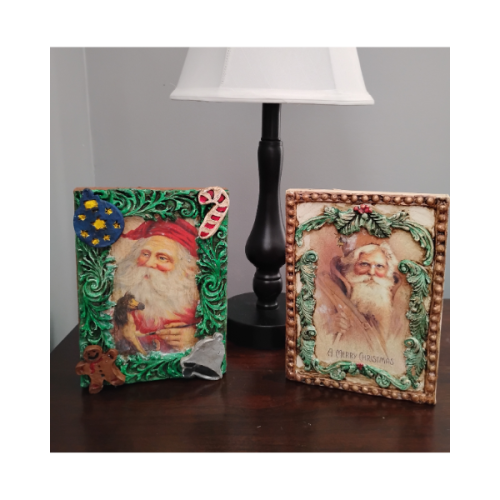
This is the final project for both Santa Claus.